Apps to Download For Your Trip to Japan
Japan is the home of anime, matcha, ramen, sushi, Mt. Fuji, sakura (cherry blossoms), Shibuya Scramble Crossing, Shinkansen, sumo wrestling, you name it.
Millions of people visit Japan every year because of the culture as well as the breathtaking nature that the country offers. Japan has huge cities and confusing subway and train stations. Not to mention they are written in Japanese characters. So for English-speakers or people who do not know how to read kanji, hiragana and katakana you will probably get confused. Although there are apps that can help you smooth sail your way through Japan once you’re there.
If you’re wondering which apps will help you feel less anxious during your Japan trip , here are essential mobile apps you must download before your trip to Japan:
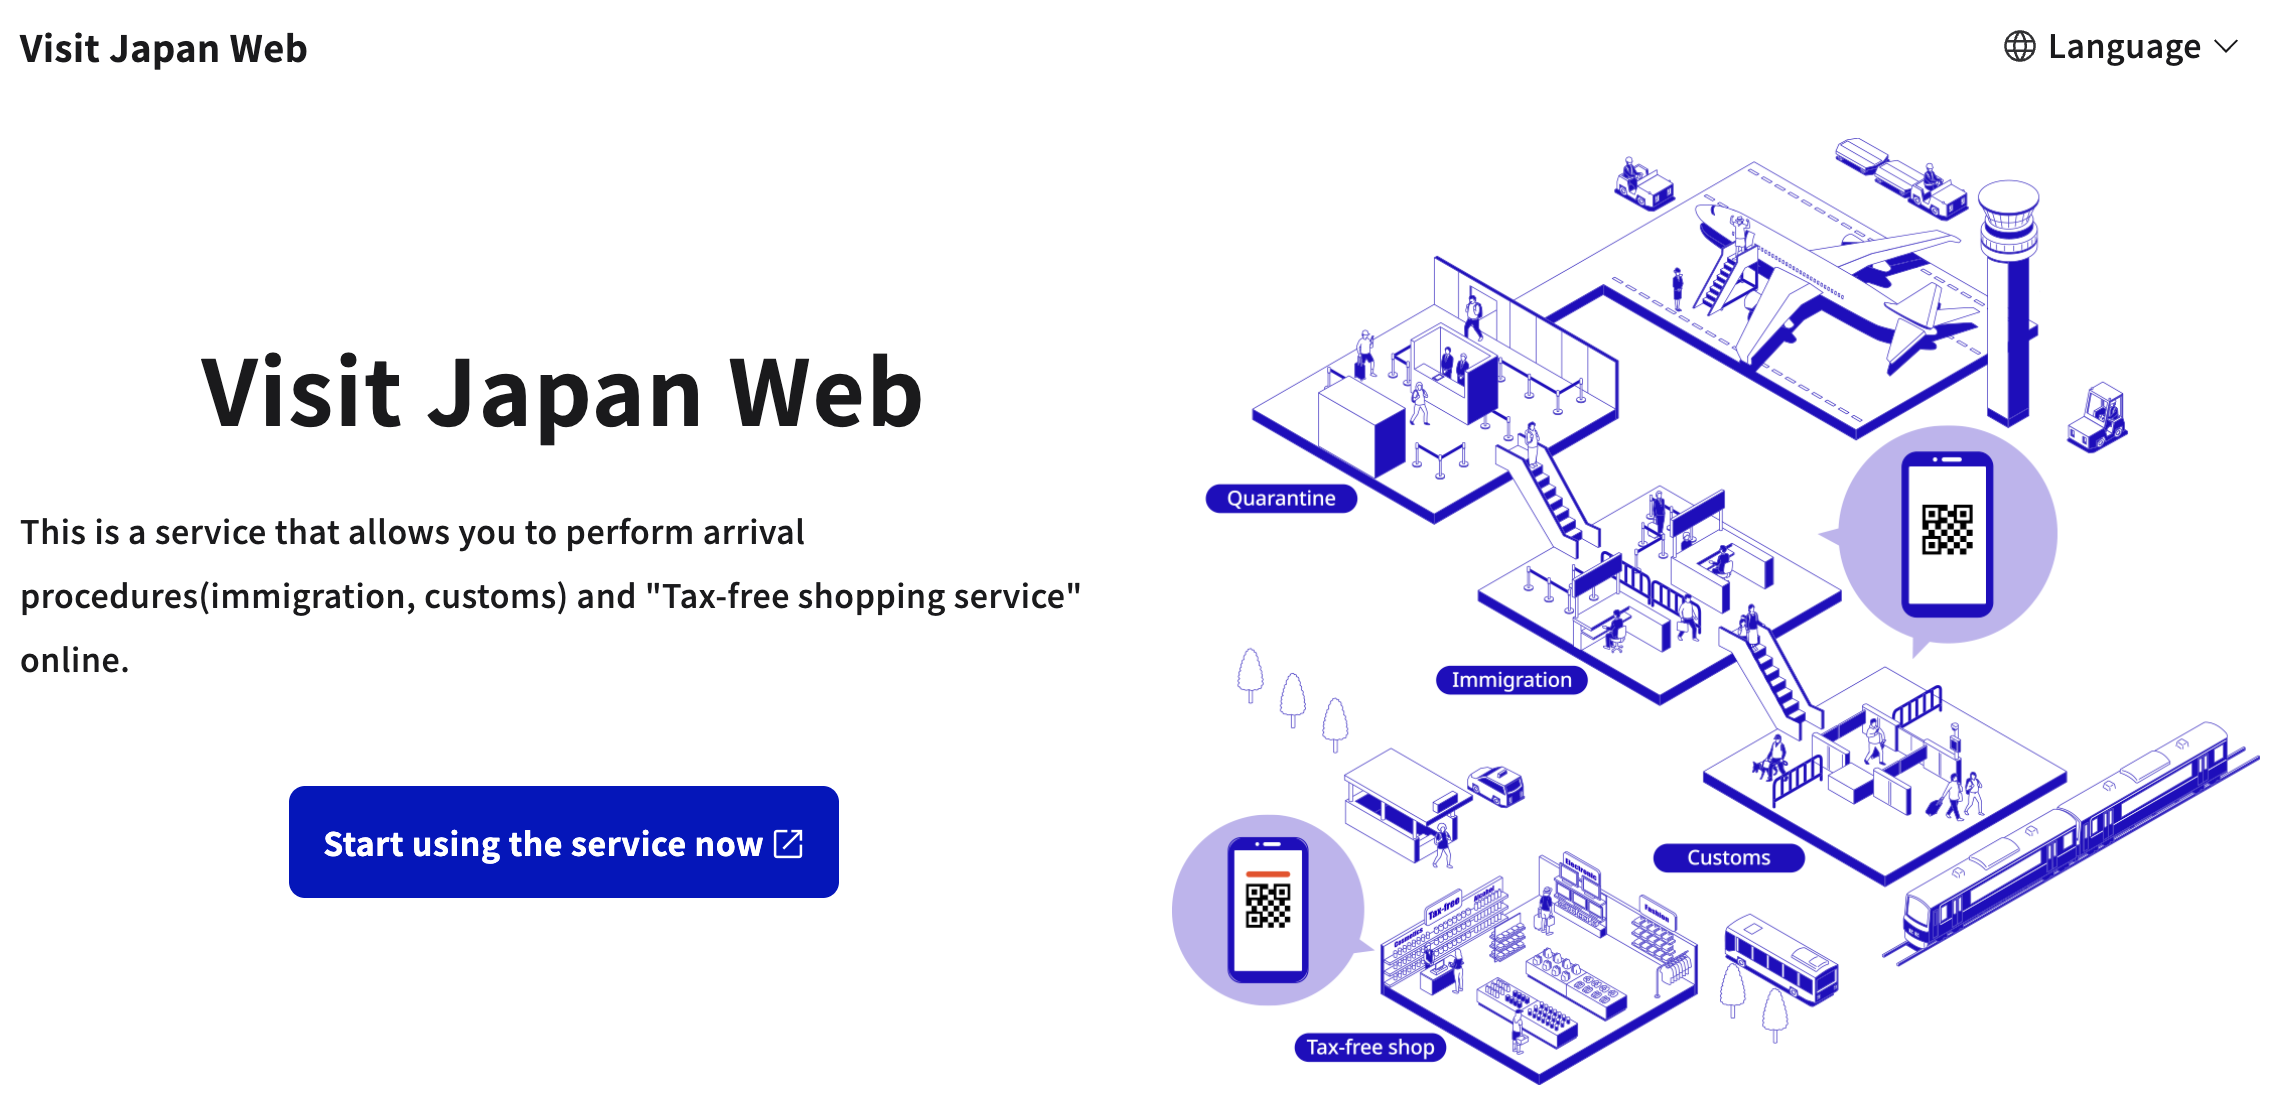
1) Japan QR custom - This is not exactly an app, but a website for Japan customs declaration that you can fill out before flying to Japan. This allows you to save you some time at the airport and exit quickly and avoiding the queue at the airport. When I landed at Narita Airport, I was out of the airport within 30 minutes after disembarking the plane because I filled out the online custom form before my flight. You can visit the link here and I also added the manual link below.
By creating an account, you can start with your custom declaration. You will need your passport number, flight numbers, travel date, if you’re travelling with a family member and answer a few questions. After you are done filling out the the declaration, it will give you a QR code to use once at the airport. No need to fill out the customs declaration form once you arrive at the airport. Feel free to screenshot the QR code so you don’t have to go to the website again just to view it. Although, you can still use the website offline by following the instruction on the website. I personally have not used the offline version, so I cannot tell you if it works or not.
When you arrive at the airport, you will see signs and airport staff who will tell you where to queue if you have the QR code. When I was there back in October, there was no queue and the process of getting the travel visa was very efficient.
*Read the manual here →https://www.vjw.digital.go.jp/manual/main/visitjapanweb_manual_en.html
Visit Japan homepage
2) Google Translate - Once you’ve landed in Japan, you will see that everything is written in Japanese. Although, there will be English translations where there are a lot of tourists, like in Tokyo. However, Japanese products and groceries do not have english labels on them. This is when G Translate or any translator app comes in handy.
If you’re planning on buying products like skincare or snacks in Japan, you’ll need this app to translate Japanese words to English (or your language of choice) to read the ingredients list or any other information about a product. This can also be handy if you go to a restaurant that does not have an English menu. Moreover, you can also take a picture of the stuff you want to translate directly on the app or from your photo library app and it will process it almost instantly.
Other cool stuff you can do on the app: a) download Japanese language so you can translate even when you’re offline; b) translate spoken words by pressing the mic button and; c) draw text characters if you can’t type them.
The app is not perfect, though, so there is a chance you get weird translations or the translation doesn’t make sense. If that was the case, you can close or refresh the app and try again.
(If you want to learn the basic Japanese words and phrases* to get by in Japan, I have written a blog about it here.)
Google Translate camera
3) Google Maps - if you’re from the West and are used to using G Maps, then this will be your bestie once you land in Japan, especially if you are planning to take the public transit most of the time to go around.
Just a note that the app might act up a bit when you’re underground or inside the train/subway station, but the app is responsive overall.
One thing I like about G Maps is that it will show you the platform number of the train you are going to take, which is helpful considering the fact that the train stations in Japan are always chaotic, huge and confusing. It will also tell you on the app the colour of the subway line you’re going to take, the name of the line, which station you’re going to get off at and the duration of the ride. It might be confusing if you have not used G Maps for public transportation before, but once you get the hang of using the app, it becomes easy to go around.
Bonus tip: if you click the start button, the app will follow your route and it will show which stations you are at on the screen, so you don’t have to worry about missing your stop.
(I also wrote a blog about navigating Japan public transit using G Maps* like a pro)
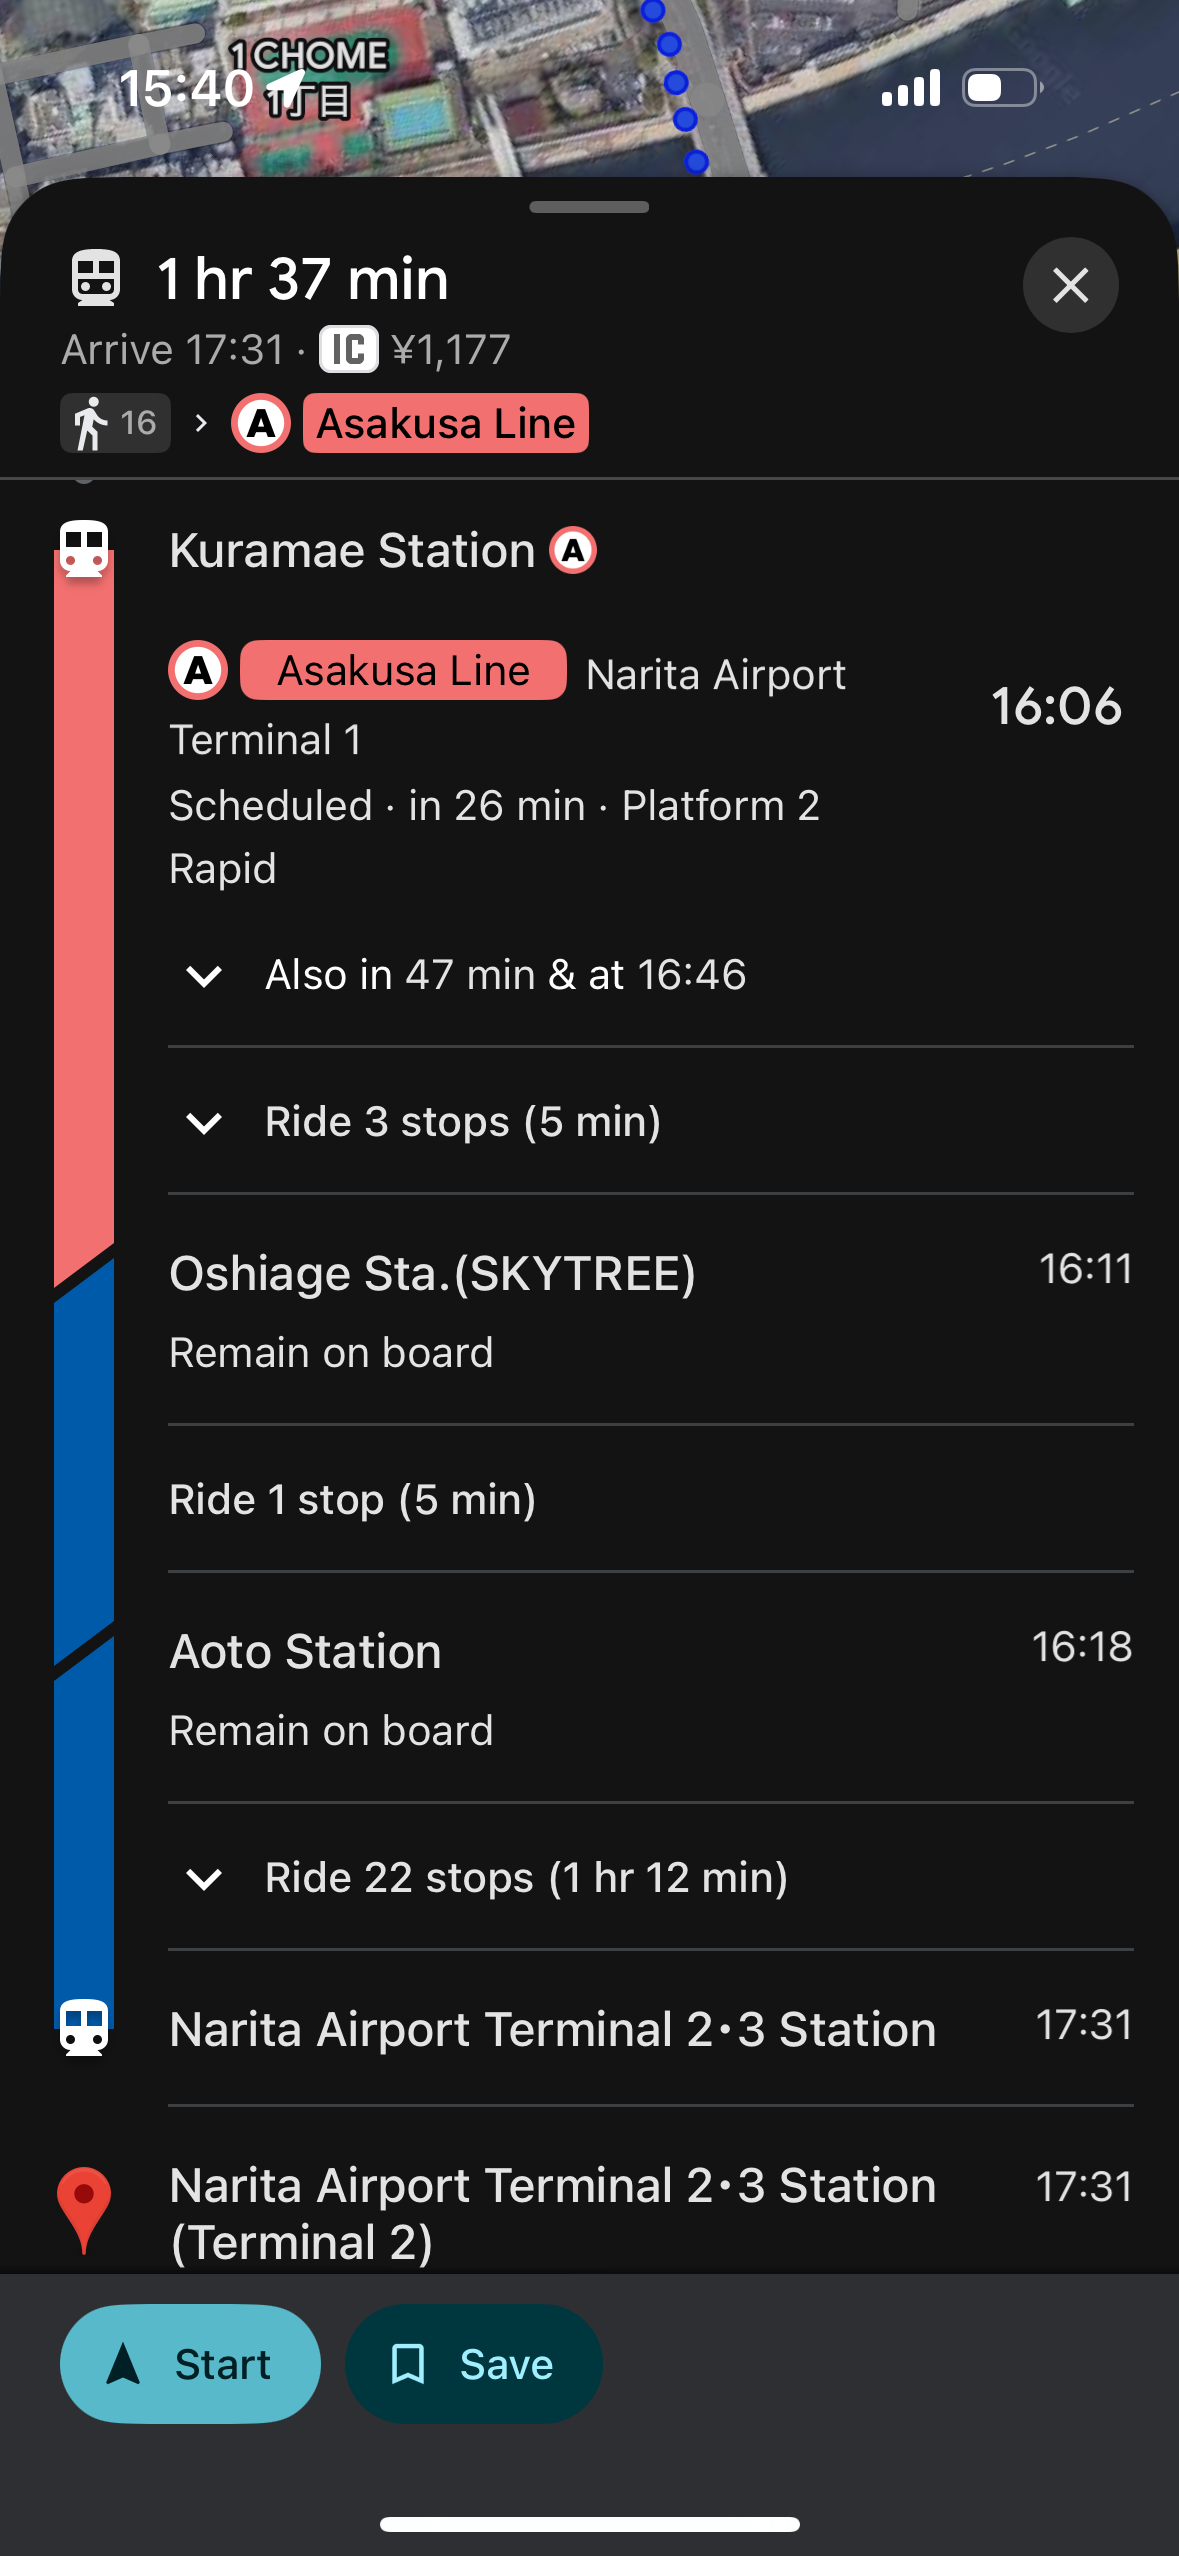
example of a train ride in Tokyo
4) Suica app (or IC card of choice) - Suica card is a transit card (they call it IC card in Japan) that is rechargeable and contactless. This is the equivalent of a Compass card in Vancouver except this can be added to your wallet app (Google or Apple Wallet) to use every time you take the bus or train. The cool thing about IC cards is that they can also be used to purchase stuff at vending machines and convenience stores (konbinis) like FamilyMart, 7-Eleven and Lawson. Some shopping stores and restaurants accept them as payments as well.
There are other IC cards available (i.e. Passmo and ICOCA) on Apple Wallet so choose which one you like. Any IC card can be used in any prefecture so one IC card is good to use anywhere in Japan. Personally, I used Suica card when I visited Japan in October and it worked when I used it in Fukuoka, Kyoto and Osaka.
You can add money to your Suica card directly on the wallet app whenever and wherever without having to go to the station to top up. You can also use Apple Pay for the transaction. If you are booking a Shinkansen, you can also link your IC card to your SmartEX account and use it to pay instead of using your credit card. By downloading the Suica app, you will find the SuicaID that you can copy + paste on the smartEX app (17-digit #) on the right side of your balance.
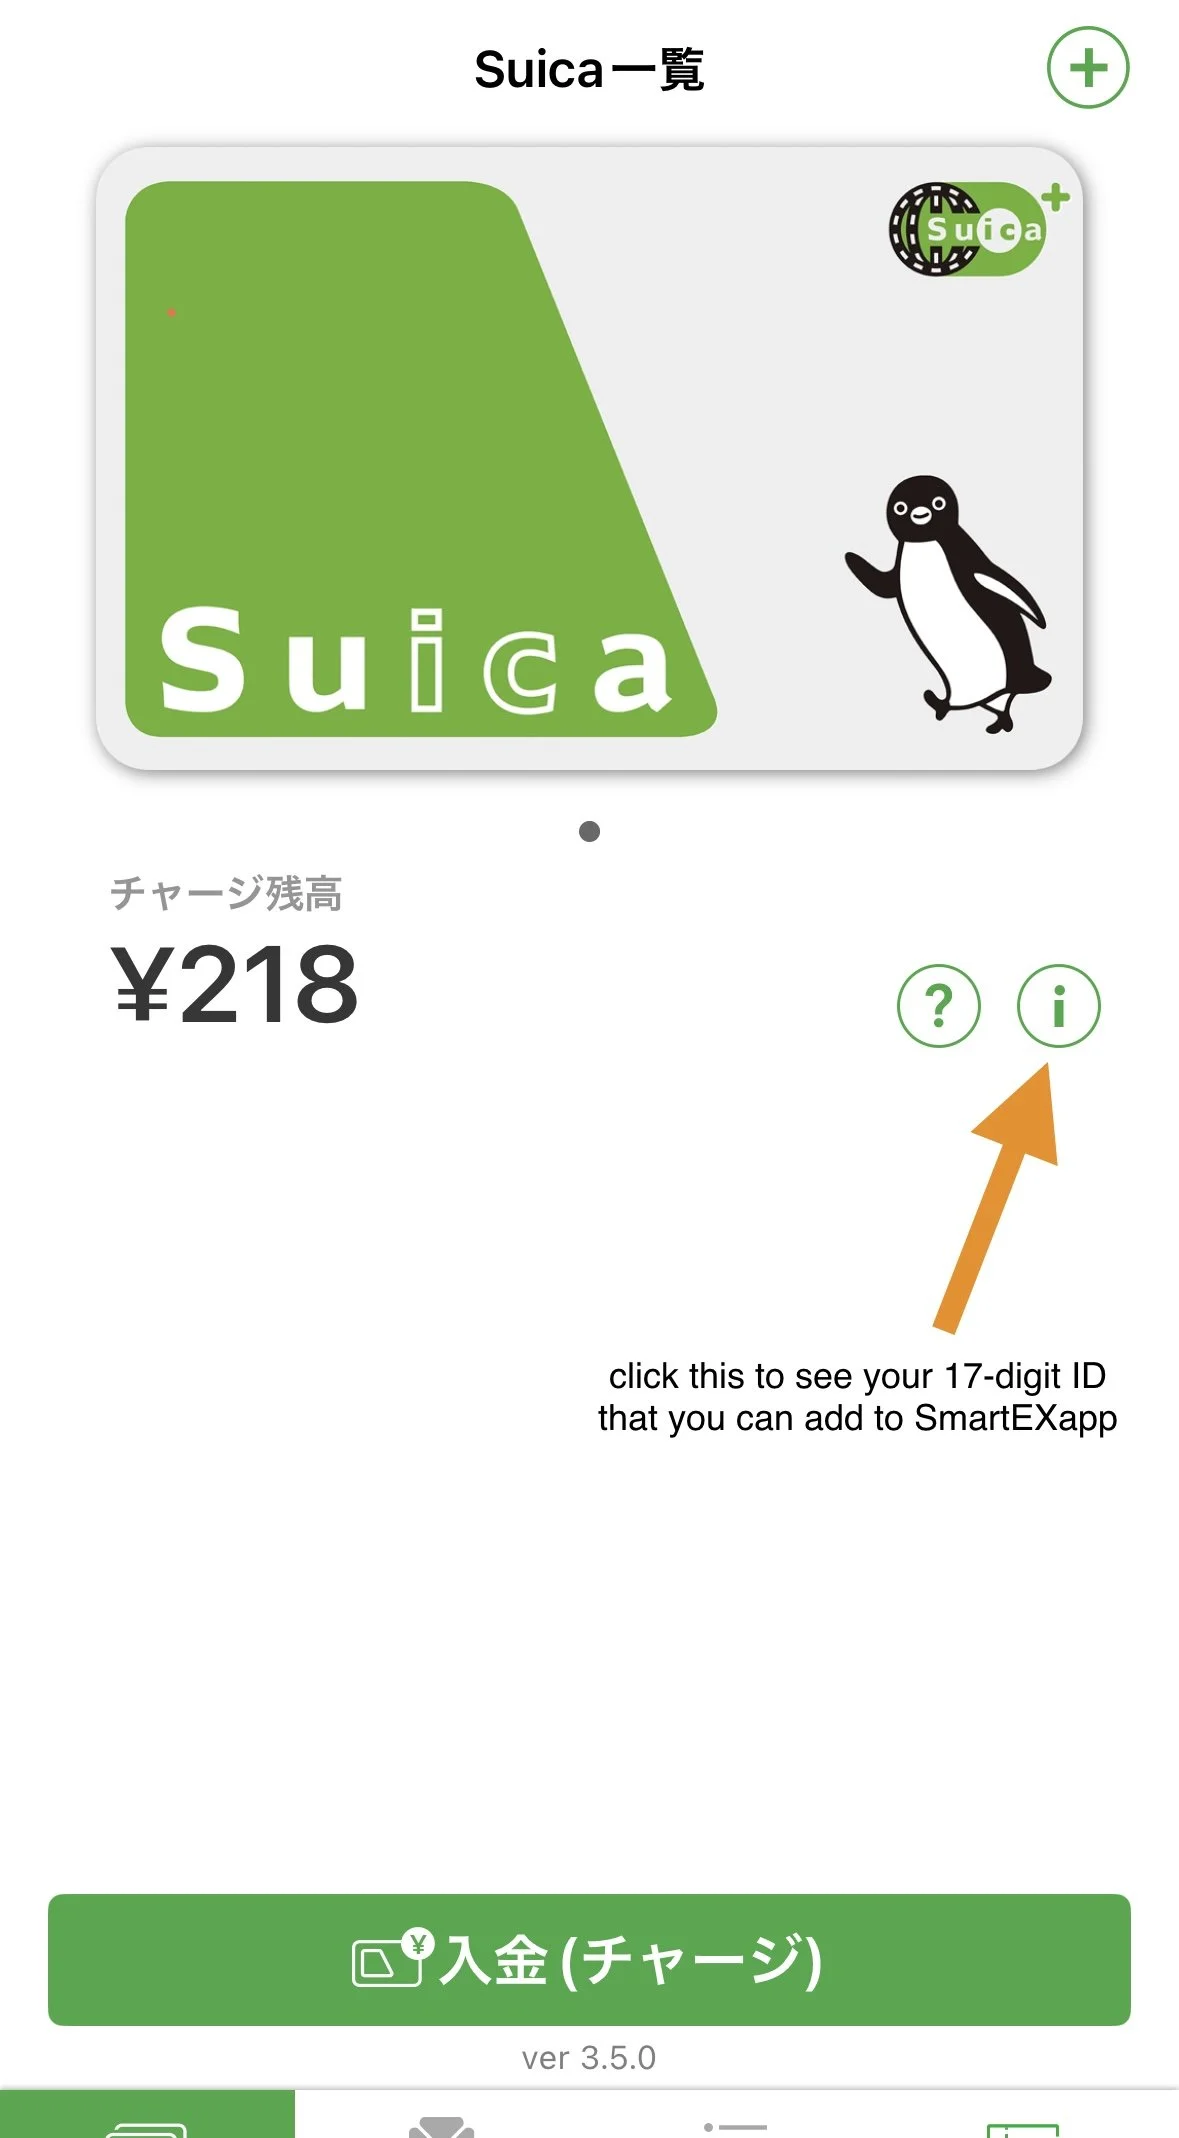
Suica app
5) SmartEX - SmartEX is an app where you can book for Shinkansen. If you’re planning to make a reservation for Shinkansen in advance or when you’re already in Japan and do not need the JR pass, this app is for you. It lets you book even last minute and modify the time if you need to make changes on the day of. It says on their website that you can change your booking “right up to the time your train departs”.
You can also see which seats are still available and which ones are taken for the train you want to book. In addition, you have the option to pay with your credit card or the IC card linked on the app. Upon creating an account, you have the option to connect your IC card to your SmartEX account but you still have to put your credit card info also.
Once you’re done booking your ticket, you will receive a QR code for your reservation which you can use to scan when entering the gate. When it opens, it will give you a paper ticket which you have to collect as it shows the departure time of your train, seat number and car number. You will have to scan your QR code again when exiting so make sure not to delete it yet until you are out of the station.
I used this app when I was in Japan and just buying the Shinkansen ticket as I go since I was flexible with the time. I remember changing one of my reservations and did not have a problem with modifying it even when I changed it the night before.
Bonus tip: you can find discounted fares when you book your tickets in advance on the app.
6) Uber or Go Taxi - I was not able to download the GO Taxi app and register before flying to Japan so I ended up using Uber to book a taxi. Your Uber account in Canada will also work in Japan so there’s no need to register for a new account. Although, using Uber in Japan costs more as there is a booking fee of maximum 500 yen per request and 100 yen surcharged included in every trip.
I took the taxi multiple times in Tokyo through Uber app and the fare is a bit pricey if I’m gonna be honest. Taking the taxi in Japan, in general, is kinda expensive if I compare it to taking Uber or taxi in Taiwan or even here in Canada.
Alternatively, you can take the public transit, like bus and subway, since they are very convenient and cheaper. However, it is more ideal to take the taxi if you are carrying a lot of luggages with you or if you’re travelling as a group since you can split the fare. Otherwise, you can have your luggages be delivered to your destination as well. I used Airporter for luggage delivery in Tokyo.
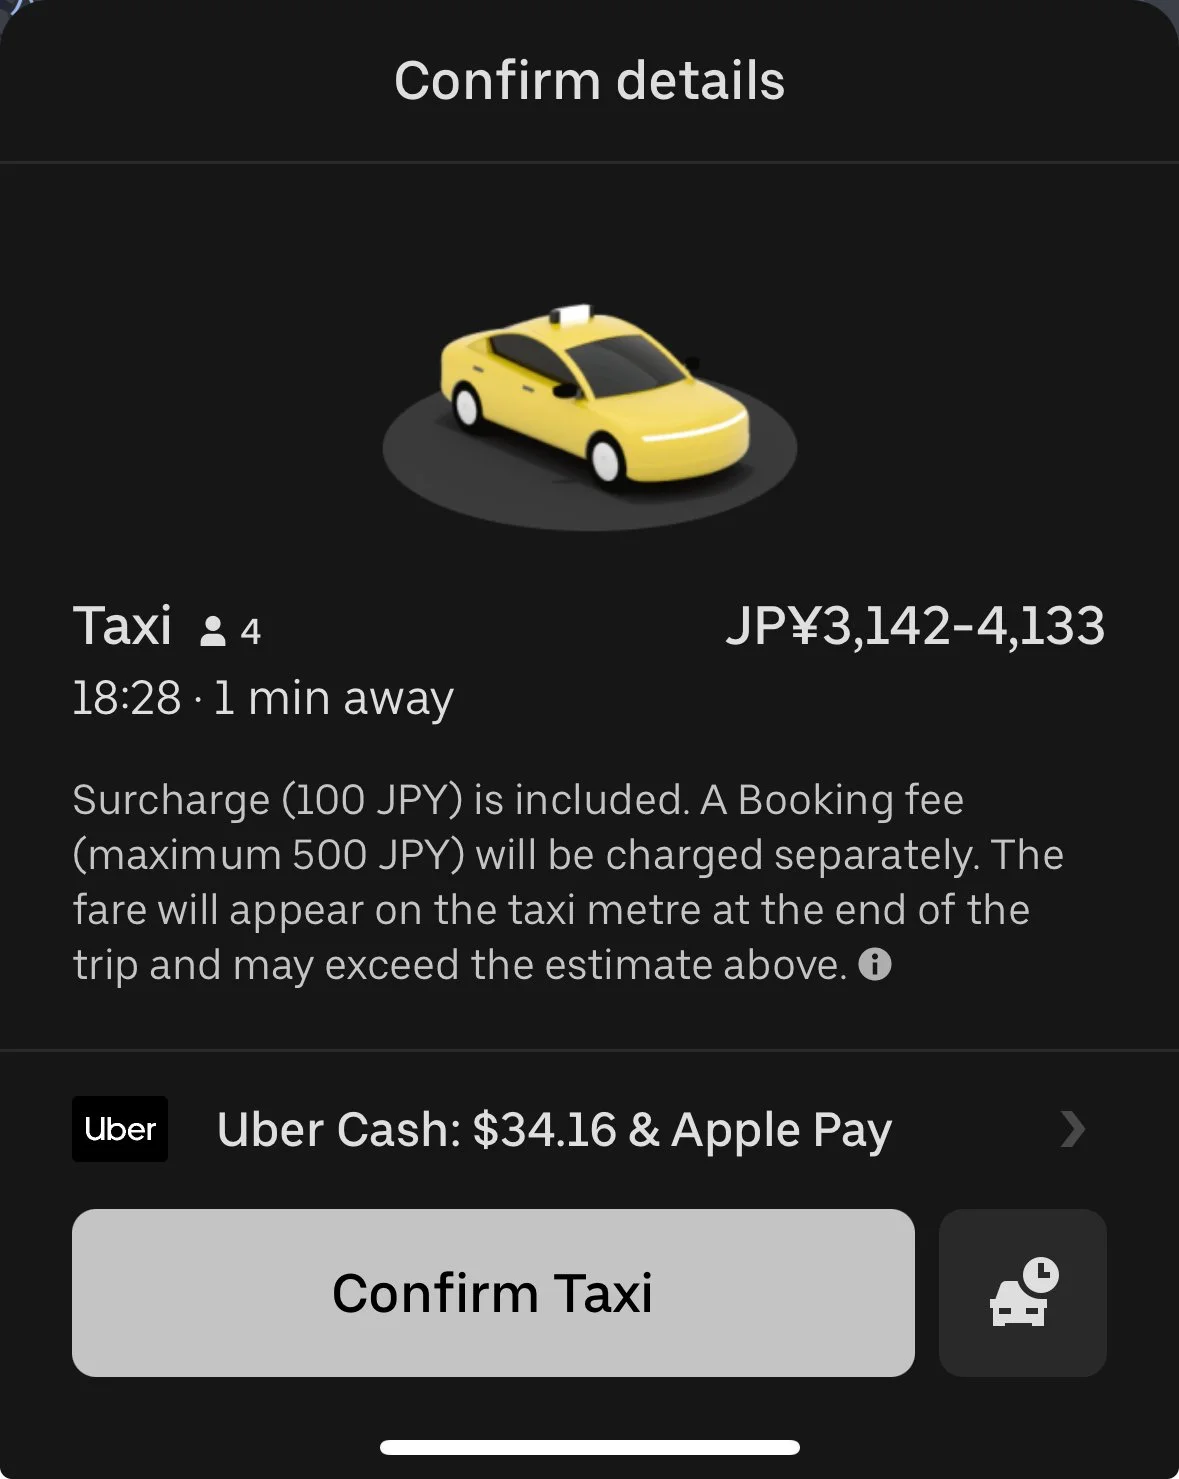
Uber Japan
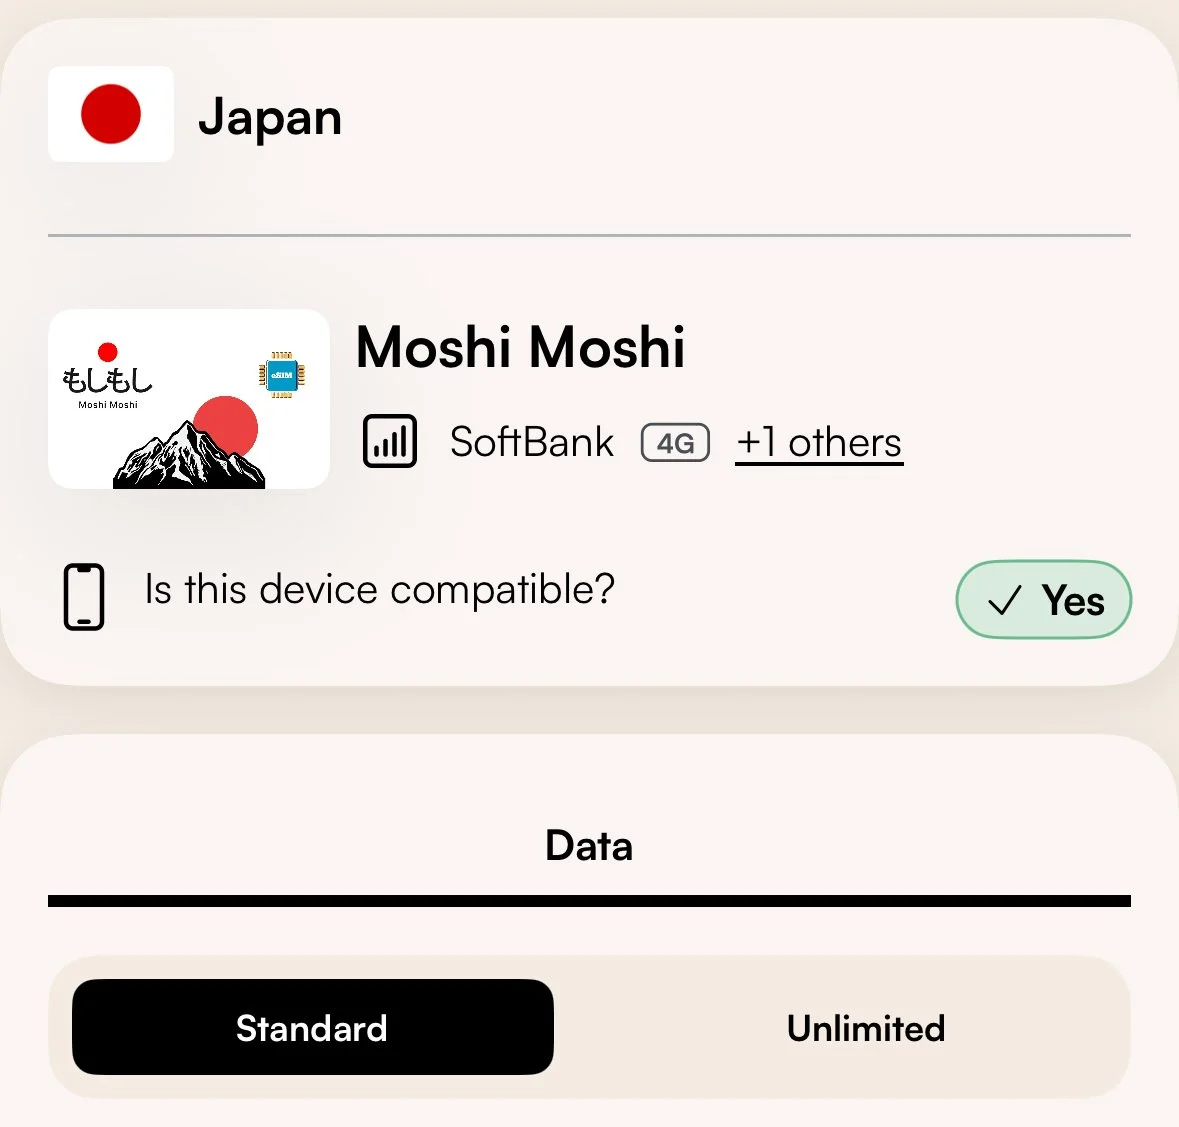
7) Airalo (or eSim of choice) - if you don’t have a wi-fi to connect your phone or laptop online while outside of your hotel or accommodation, Airalo is an eSim that lets you use mobile data without paying an expensive international roaming. You just have to make sure your smartphone is compatible for eSim and your phone is unlocked. The standard plan starts for 3 days until 30 days and choose from 1GB to 20GB of mobile data. They also have unlimited package which allows you to use unlimited mobile data everywhere in Japan. The price for the standard package is from $6 CAD (for 3 days) to $35.50 CAD (for 30 days) and the unlimited mobile data is from $18 CAD (for 3 days) to $104.50 CAD.
I highly recommend buying an eSim to use during your trip instead of using an unsecured or a public Wi-Fi.
You can use my referral code: KAT2001 to get $4.50 CAD off your first purchase.
Airalo eSim for Japan
8) JapanTravel: Visit Planner - the JapanTravel app by NAVITIME contains a lot of good information about Japan. You can search up guides and articles that you can read about art & culture, nightlife, shopping, nature, food & drink, hotel & travels , and there’s even discount coupons that you can find on the app.
It also has the safety feature where you can get notified for weather warnings, disaster information like volcano eruptions and earthquakes and you can also find the level or intensity on the app. I got an alert once when I was in Tokyo due to heavy rain which was very helpful since I was outside most of the time and I did not check the news.
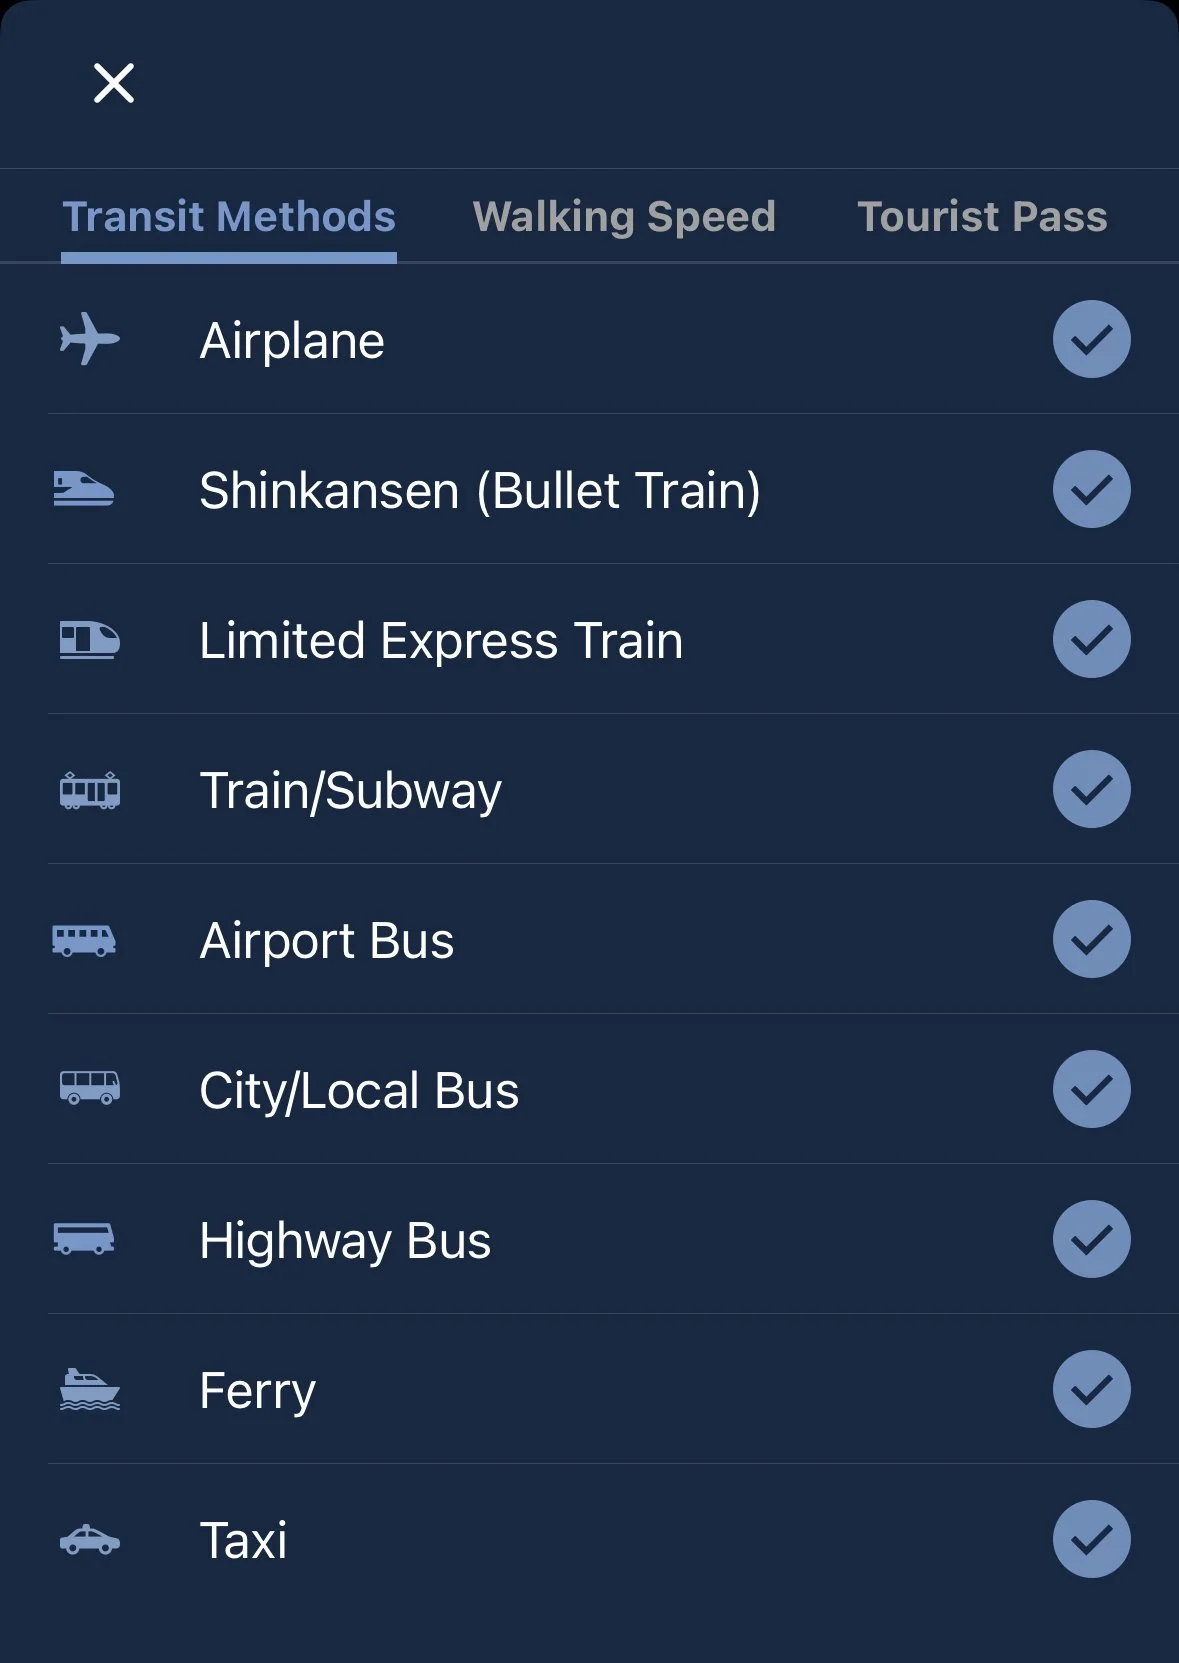
Moreover, you can search up routes if you’re unsure how to get there. It will show you different types of transportation method, from airplane to Shinkansen to taxi. I used this app when I was in Osaka going back to Kyoto and wanted to check my options as it was already late at night and I had limited options. Searching up for routes on the app will give you multiple option routes based on the transit method available for the specific route.
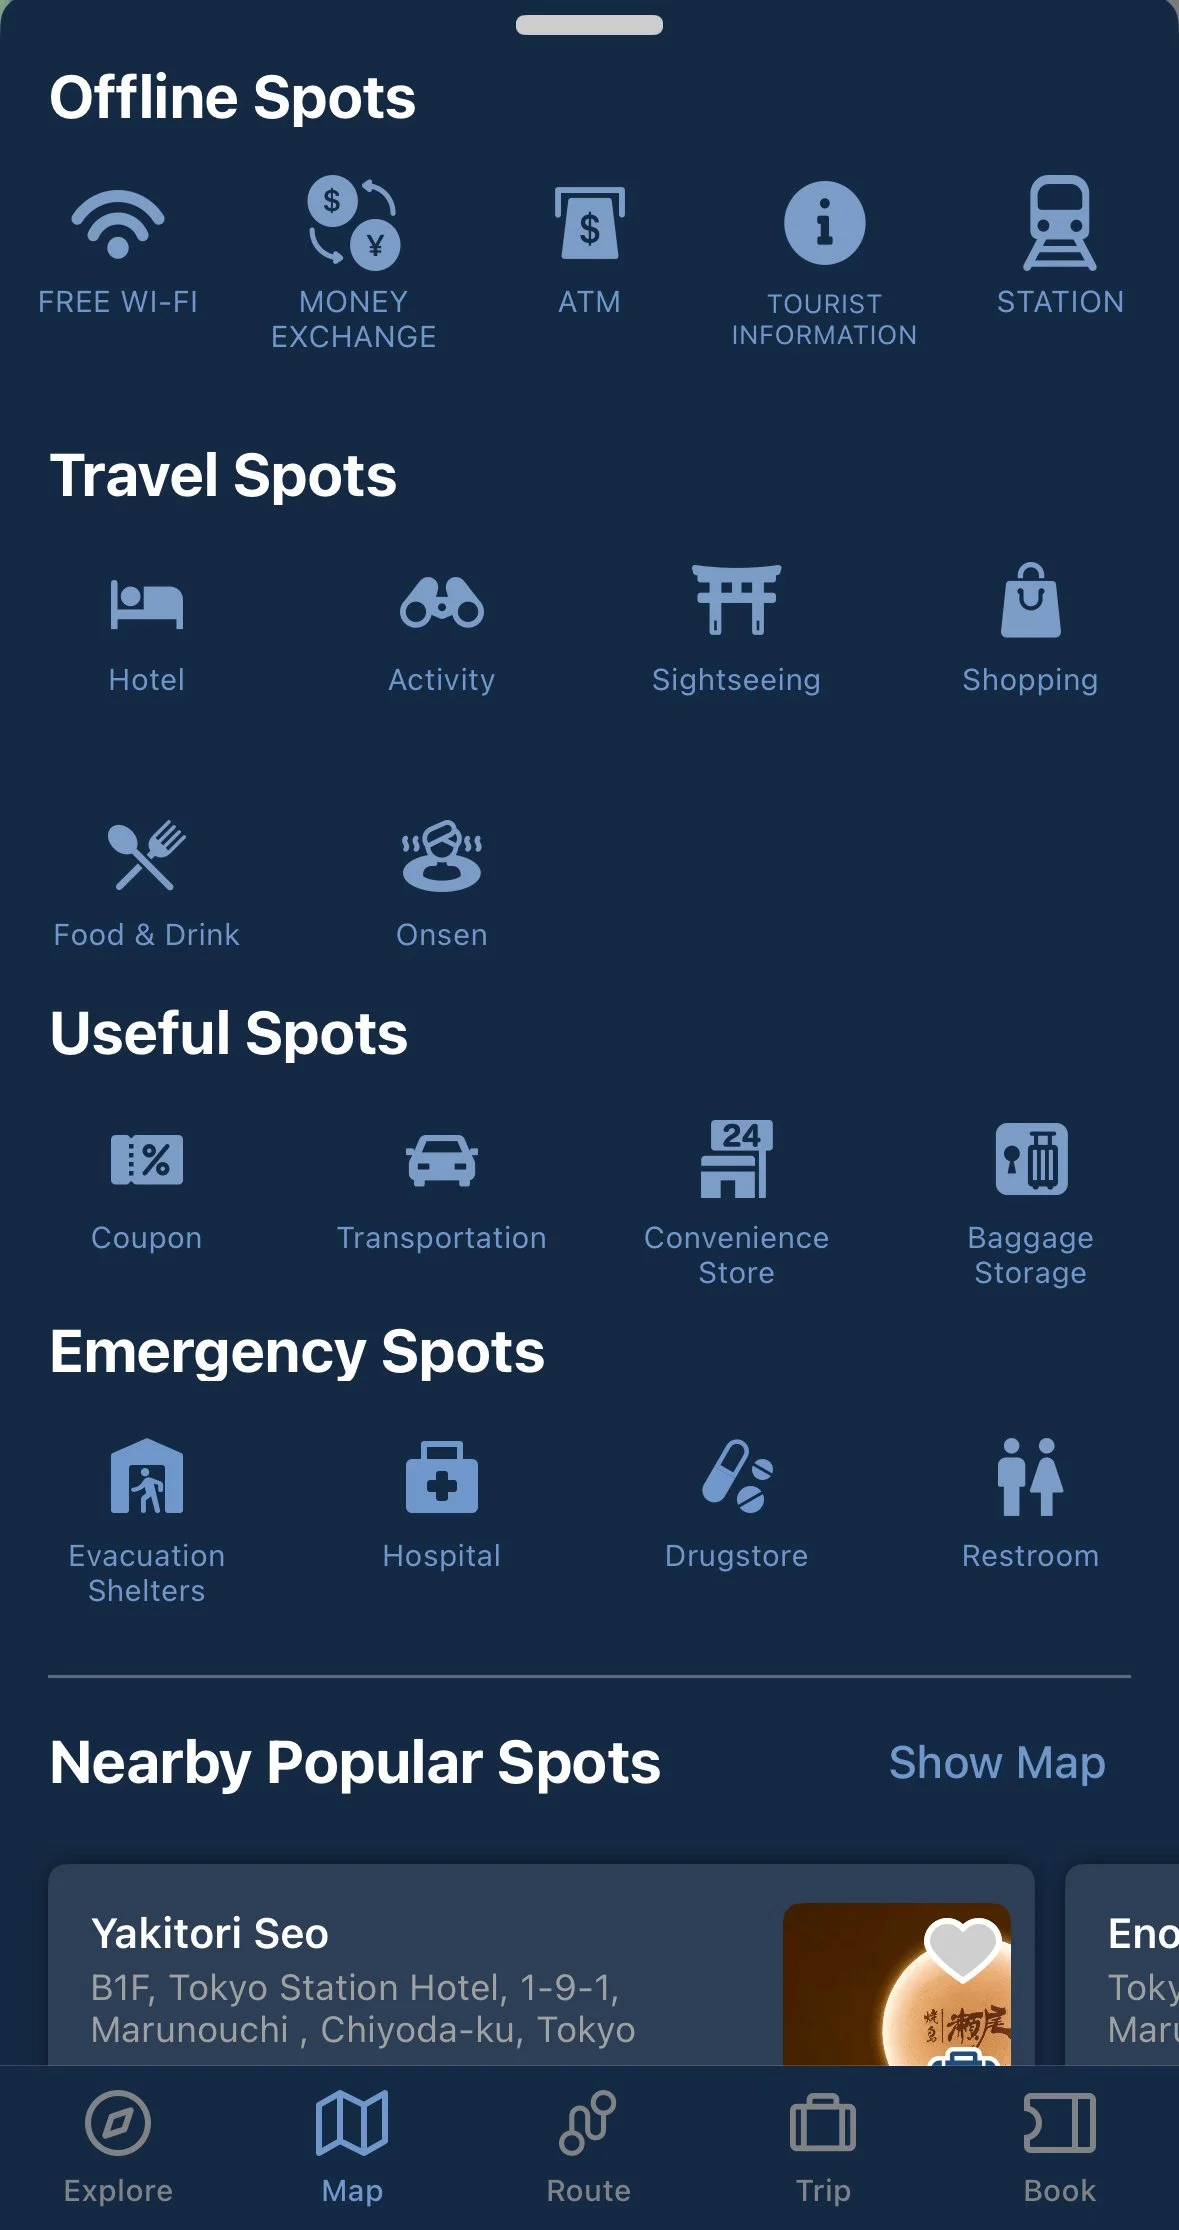
There is also a map that can be used offline where you can search pretty much everything from activities & leisure, shopping, style/fashion, food & drinks, life/living/hospitals, travels and even onsens and ryokans. If you need a place to store your luggage for the day, there is a baggage storage option on the map that you can select as well and it will show the locations of the coin lockers or storage around the area. Keep in mind that some of these ones need reservation in order to store your luggage.
9) ArriveCAN - use the ArriveCAN app to declare anything when coming back to Canada from your trip. You can fill out the online form 72 hours prior to your flight back home to save time filling out the declaration form at the airport kiosk upon arrival. You will have to provide the airport you are arriving at and your date of arrival. You will also have to provide your personal information such as passport number, your full name and date of birth, and answer a few questions. Once done, you should be able to receive an email confirmation from CBSA which also includes your reference number.
If you needed to make changes to your declaration for some reason, you should be able to modify it when you get to the eGate or kiosk at the airport. You can read more about ArriveCAN here.
I always use this app whenever I travel internationally to shorten my time at the airport and saves time filling out the questionnaire at the kiosk. All I need is to confirm my declaration and get the eGate receipt and give it to the border officers upon exiting.
Optional apps to download:
Airline app - download the app for the airline(s) you are flying with so it’s easier to manage your booking, check-in for the flight, see the flight status, flight information and access your digital boarding pass. Some airlines also offer the option to save your boarding pass to your phone wallet.
hotel/OTA app* - hotels like APA encourage guests to download their app so they could check-out, purchase food tickets, reserve equipment, check if the public bath is crowded, and obtain limited coupons.
For OTA apps like Booking.com, you can easily manage or modify your booking, message the hotels your staying at, view confirmations, check-in times, and the address of the hotel. No need to print out anything.
I hope you enjoy your trip to Japan! Stay safe and be respectful.